In an effort to make the most of the time we were sidelined due to the Government shutdown, Dan and I gutted our closet! When we did our bedroom makeover, we bought enough flooring to do the closet too but hadn't gotten to it. I was totally dragging my feet because the thought of cleaning out the closet and temporarily relocating all the
*Caution* - this is extremely pic heavy! Here are some before pictures:
The model home of the house plan we chose had recessed shelving right inside the doorway of the master bedroom closet. They were swoon-worthy. I *loved* those shelves and couldn't wait to have some of my very own. Unfortunately, and during the final walk-through, I discovered the builder left out (forgot?) my shelves completely - UGH. So, they crammed some shelving in. I never loved them like the recessed ones. This is why:

Open the door and BOOM! shelves in your face. Grrrr. It's awkward and difficult to photograph. The opening to the closet isn't as small as it appears in this picture but still, they jutted out AND the light switch was on the inside of the shelving so you would have to walk into the closet, and stick your hand into the shelves to get the light switch. FAIL. We had the light switch relocated before we moved in and that helped ease the pain...a little. Here's a shot of the doorway from a different angle:

Not horrible but not the sleek and chic of recessed shelves! I snapped these pictures during the renovation of our room and we used the closet to pile up stuff from the room too (my excuse for the clutter!).

The closet was outfitted with two rows of bars and there were shelves above each row of bars. Beige walls, beige carpet. We cleared it out and then removed all the hardware.

The shoe shelves --GONE! Laaaaaa (signifies heavenly singing. Ha ha). The light fixtures needed to go too. I never realized until I started DIYing and reading decorating blogs that these were "boob" lights. Now that I have learned, I can't see them any other way - LOL!

Some of the brackets were GLUED on --which I think is outrageous! Talk about shortcuts! Unfortunately, that time-saving trick for the builder wreaked havoc on the drywall and took days for us to repair.

So much damage to the walls - unbelievable!

Don't mind the General Contractor there. LOL! He's making sure there's no more gluing of things.
Finally, we could paint. We used Glidden "White Lagoon". It's a very pale blue/green - beautiful with the gray in the bedroom. The second it was dry, up went the lights :)

We painted the ceiling white. It is amazing to me what a white ceiling does for light! Look how bright it is in there - love it!

The light fixtures came from Home Depot and I am proud to say they were particularly inexpensive. I had picked fixtures that were going for about $140/ea. They were lovely, but not budget friendly. I went back to the drawing board and when I saw these:

A clear glass bubble with a frosted glass shade - definitely appealing to a glass hound like me - ah, but the $49.95 sealed the deal. The paint in here is very pale and very tricky to photograph! The pic below shows more the true color (around the door).

Uh oh, the GC is back - look busy - LOL! Next the floor went in; then the closet organizers and last, all the trim. Here it is finished:


These pieces are for my accessories. The picture is one that my step daughter took for her photography class in high school. She took her favorite purses and borrowed my favorite purses and then took a series of photos of them and their different features. Then she created a collage.

She got an A+ on the project and then, gifted it to me! I had it framed at Michaels several years ago and always pictured it in the closet. Now, my treasured gift hangs in its rightful place :)


All the organizer pieces are by Closet Maid; the bench is Martha Stewart. Everything, including the mirror, came from Home Depot. The rug is from Ikea.
And finally, finally --the clothes & stuff went in:

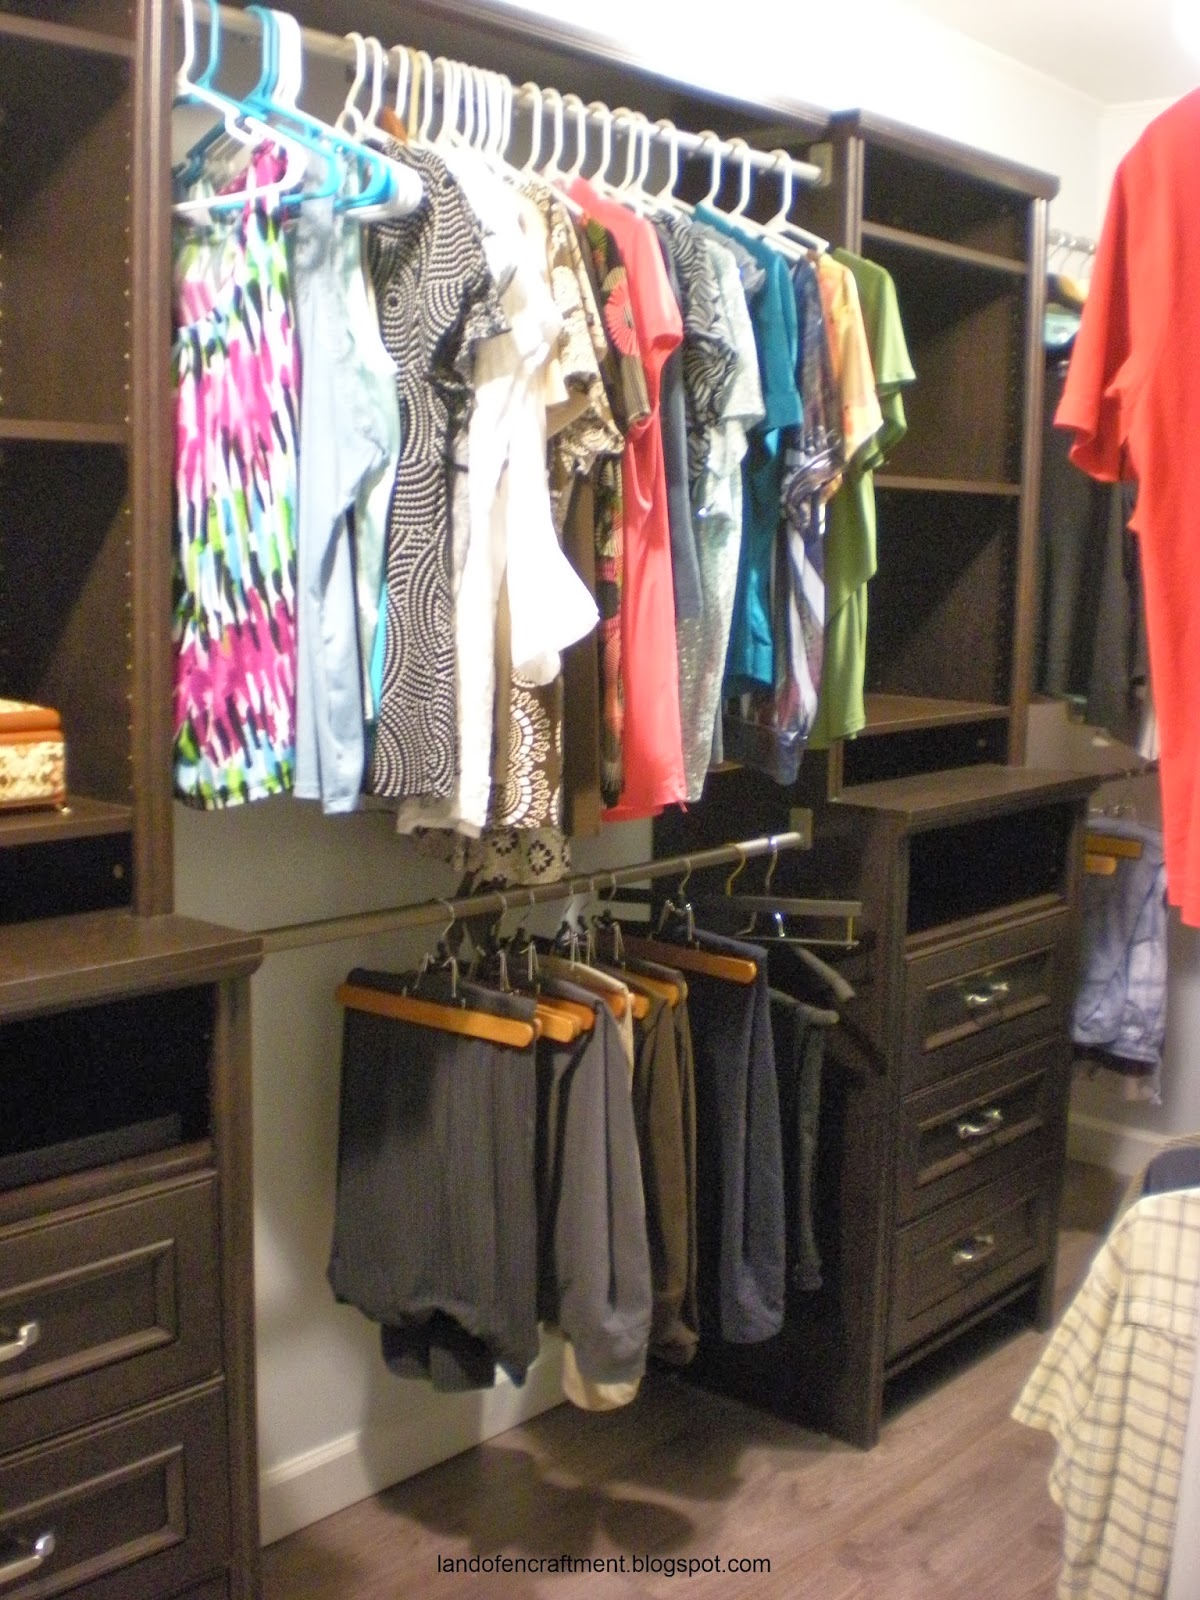

I did a major purge on the contents of the closet and am still going through some bins. I also pulled out any summer or spring clothing and will keep those in storage until it's time to switch it out. It's so funny, going through clothes, I ask myself, is it closet-worthy - LOL! I hope that attitude lasts; it will sure help me keep it looking this neat!
Ahhhh. It's wonderful to have this project DONE. My craft room is next on the agenda but I think we'll take a little break with Christmas right around the corner.
I'm linking up!
Elizabeth & Co: Be Inspired Features and Link Party #97
Hope your week is going well!
Way to go. Fantastic job that you guys & the General Contractor-boxer did
ReplyDeleteLOL - thank you! Yes, our boxer Denny is always on the job ;) I do need to give a shout out to my husband for putting up all the crown and baseboard molding! It really finished it off nicely.
DeleteInteresting thouughts
ReplyDeletejun1r58s10
ReplyDeletegolden goose outlet
golden goose outlet
golden goose outlet
supreme outlet
golden goose outlet
golden goose outlet
golden goose outlet
golden goose outlet
golden goose outlet
golden goose outlet